Masks! I finally found the one I love. This will be a tutorial on how I make the ones that work for me. These masks were taken from 3 different places. I will list the places at the bottom of this post and during the tutorial.
Let's start...
Supplies for one mask:
- Outside fabric 10.5x7.5 inches (I'm using Seawhawk fabric mine)
- Inside fabric 10.5x7.5 inches (I'm using white on white fabric)
- Interfacing for extra protection. I got mine from Joann's. Pellon Soft-n-Stay Style 380.
- Earloops with an adjuster on them. I bought a set from my local quilt shop Running Stitch Fabrics.
Here is your warning... this will be long and graphic intensive.
I recommend if you are making more than one or want to make another later to make a template. It makes life so much easier.. At the end of this article, there is another template sheet you can print out for different sizes. :)
I made one out of cardstock. You can use a cereal box, template material, etc..
You will need a 10.5x7.5 of whatever you are using for a template, then mark 2.25 (2 1/4) inches from each corner, draw a line diagonally from mark to mark, and cut that corner off. You will have a template that looks like this:
This is from
Judy Gage's instructions she shared at a mask-making session for Joyful Quilters.
Joyful Quilters is the Evergreen Piecemakers Quilt Guild community sewing group.
You will want to trace this on the back of the outside, inside, and interfacing pieces that you have. Rotary cut or use scissors, your preference.
Assembling these items you will want to have your outside fabric with the right side up.
Next, take your inside fabric and put the right side down.
Now lay the interface on top. It is not fusible, so it will not matter which side you have up or down.
Now pin it and leave a space at the bottom to leave open so you can turn it.
Notice that I have two yellow pins?
This is where I will be stopping and starting.
Now you will be sewing a quarter-inch seam. Start and stop with a stitch back and forth to tack it into place. This is to keep it from unraveling when turning.
Note: Do NOT sew over the pin.
You will need to clip all corners so there will not be any bulk in the corners.
You will now turn it right side out through the open hole. Making sure that the interfacing will be on the inside when you turn it.
Use a stiletto, chopstick, etc, to poke out the corners. Then iron both sides to make it crisp. Keeping in mind the open place that you turned it through will need to be folded to line up with the rest of the mask. No worries, you will top stitch this closed. :)
It's time to topstitch your mask...
It will be 1/8 inch around. When you come to the other stitching go over it a few inches to lock the stitching into place.
Time to go back to the ironing board and fold down the top and bottom.
You will need to fold them down so it is folded a smidgen above the corner. Like this:
Iron it into place.
Do the other side in the same manner so you will end up with something that looks like this:
Making sure that you iron it on the other side also to make crisp edges.
Take it to the sewing machine, and you will be sewing 1/8 inch along the long side on each side.
Now you will need to lay it flat because you are going to fold down both ends. No measuring involved! See where the tip of my scissors is pointing? that is where you will be folding it down to.
Fold the edge down to where the tip of the scissors was
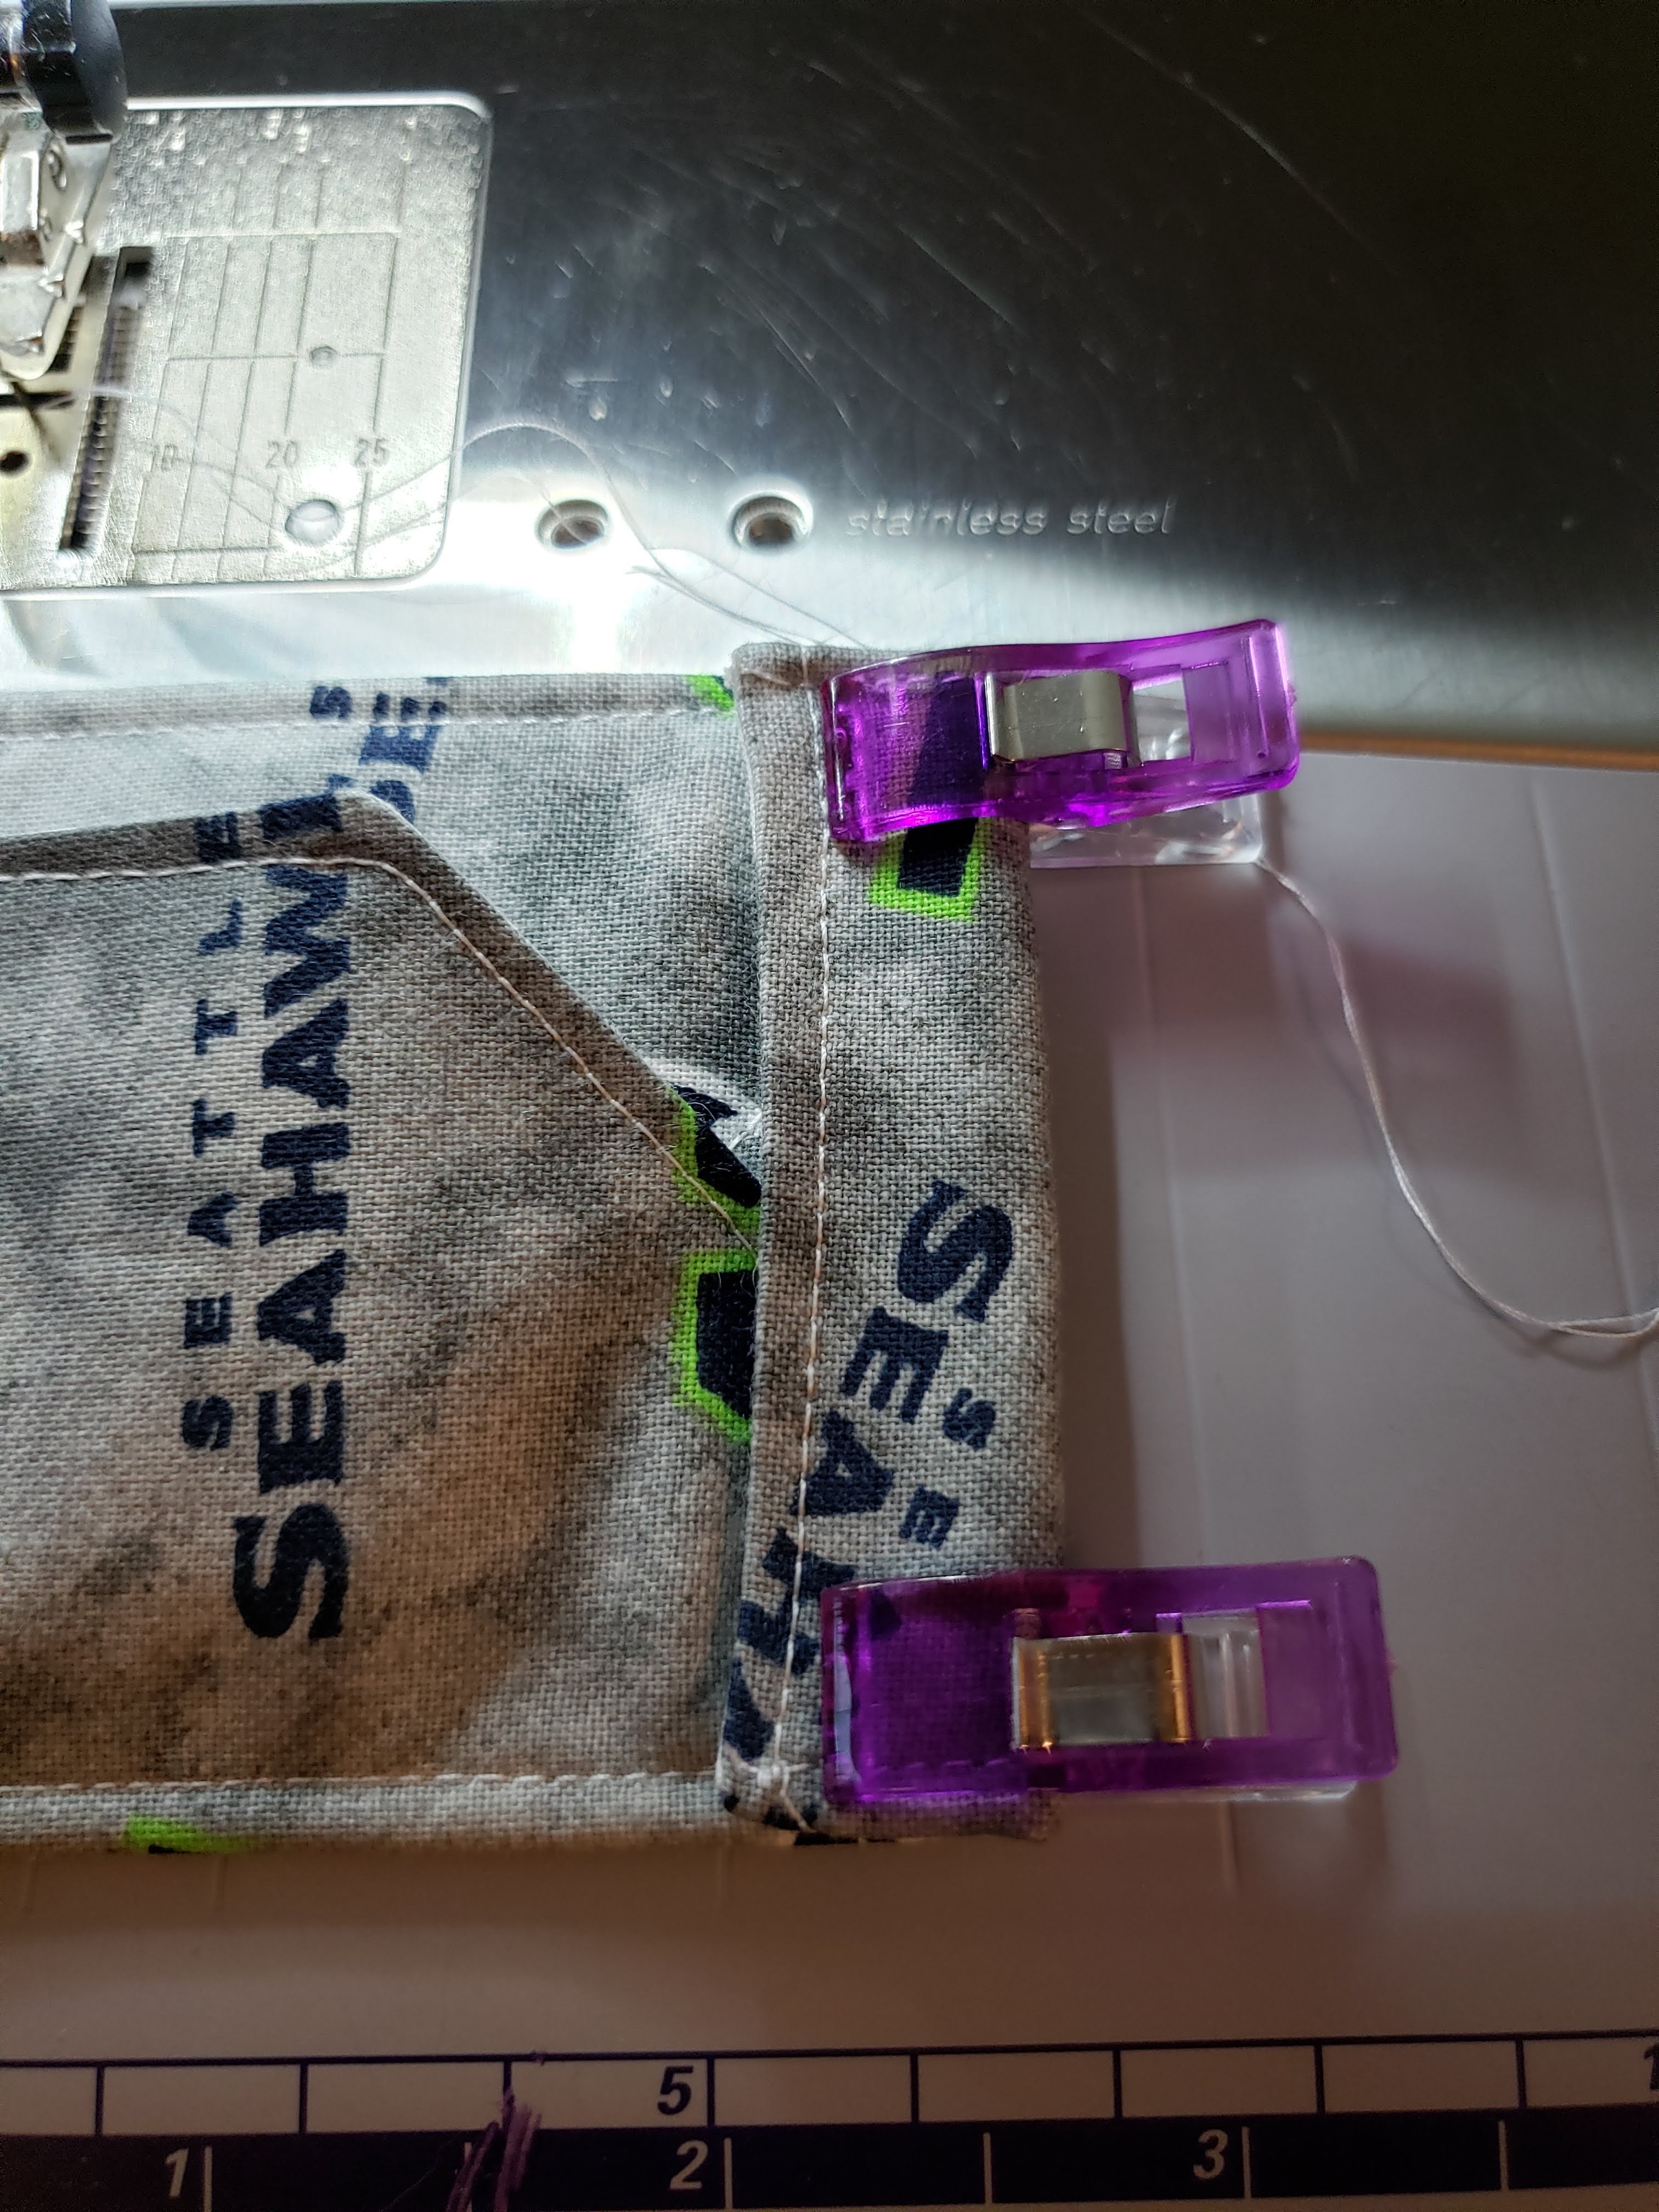
I kept it in place with clips as I will be inserting the edge of the earloops inside.
Unclip on one side and insert one of the earloops inside the fold. I put the end of the piece to the edge. No measuring involved! Then do the same to the other.
You should now have both ends in and cliped. Now do the other side.
I took it over to my sewing machine and put the needle down into the corner. I reverse stitched and forward stitched so I was back to where I first put the needle in.
You can see where I doubled back on the one corner furthest away.
I turned the corner and continued down to the next corner and did the same thing.
It now looks like this:
We are almost done.. YAY!!
Now it's time to pull the sides out to where they need to go. Line up the first side so it rides along the folded down encasing. You will want to match the corner of the piece you are turning to the corner of the encasement that is holding your earloops. Pin in place.
Now you will need to do the same to the other side.
Time to sew them down!!!
As you have probably noticed my earloop is under my work.. NO! Make sure it is to the right of what you are sewing or this will happen: OOPS!

If you do this you will need to take out your trusty seam ripper and just rip out the ones needed and then sew in the same place. Onward, now that I have fixed this...
You will want to do the same to the other side.
Guess what! You are done, you will need to iron..
Iron it flat.. :)
Sources:
Judy Gage's instructions, I do not know where she got the dimensions, but they are perfect for the average adult size mask.